Creative Tutorial – How to Make a Reusable Cotton Snack Bag for Kids

divider-new-1

I’ve dug up a post from 2011 (!!) as a little #plasticfreejuly inspiration.

I still have these little bags I made for my little girl that were so well loved. They are perfect for dry snacks such as trail mixes/ dried fruits/ nuts/ crackers etc and just the right size for little hands to hold.

There are probably a million ways to make them, however this is the way that came to me all those years ago. I hope they will inspire you to make some reusable bags.

You will need:

100% cotton fabric
velcro
Cotton tape & embroidery thread (optional – to make tag)
Sewing basics – thread + scissors + sewing machine

Let’s begin…

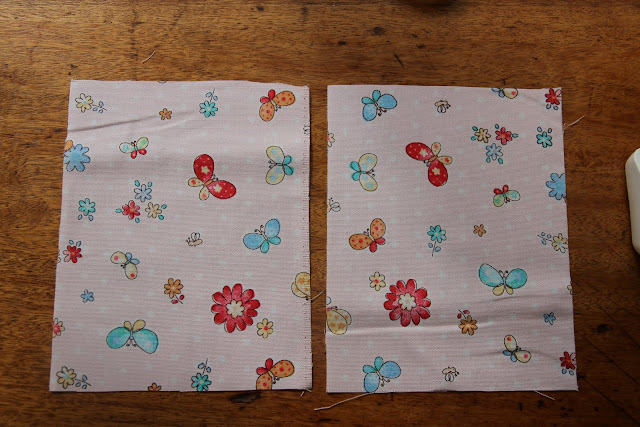
STEP ONE – Cut out two pieces of 100% cotton fabric – Cut out the fabric larger than you would like your bags – so that you allow for a seam.  Make sure to wash the fabric with natural washing liquid, so there will be no harmful chemicals/ residue in your little food bags.

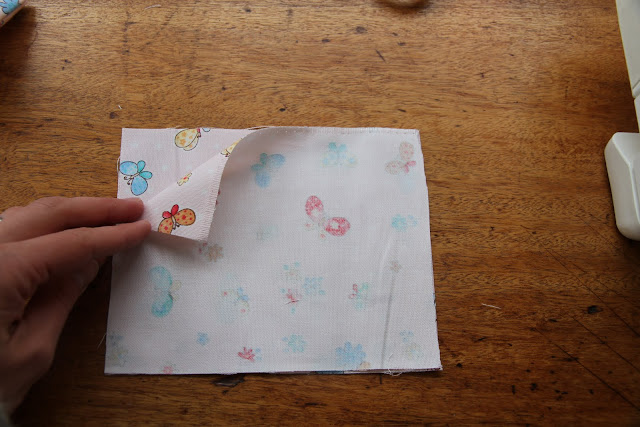
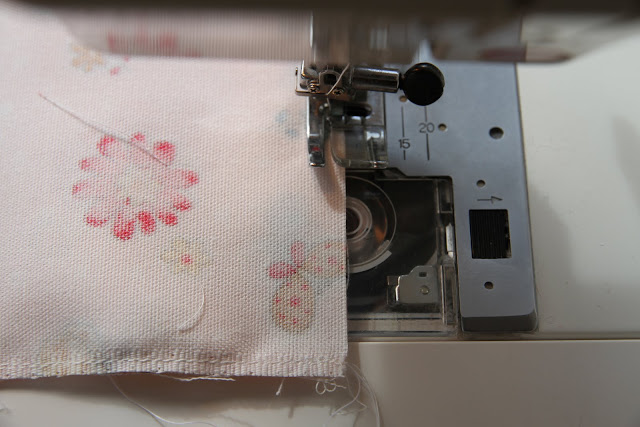
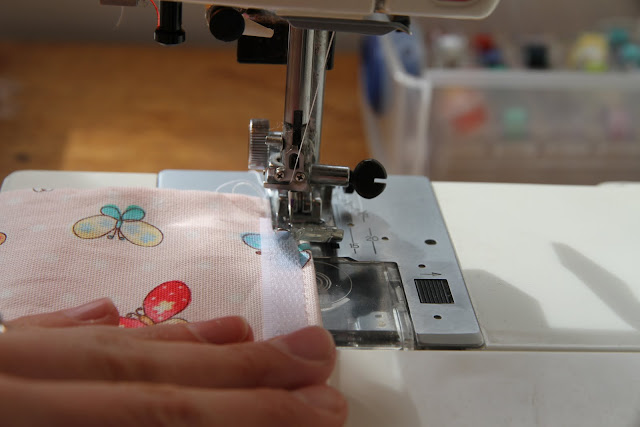
STEP TWO – Place patterned sides together. Pin in place if you like and then sew using machine around the edge of the fabric, leave a small opening on one of the sides. Make sure the opening is at least 7cm so that you can turn it inside out.

STEP THREE – Next turn the bag inside out, so patterned side of fabric are now facing out and the seams are hidden inside.
STEP FOUR – Taking some thread, stitch the opening closed. I prefer to hand stitch this part, however you could just as easily use the sewing machine.
STEP FIVE – Now take a piece of velcro and depending on the width, you may need to cut it in half length ways to make it narrower. For this little bag, I cut the velcro in half so that it was 0.5cm (1/4inch) wide. Now position the velcro on opposite ends of the fabric (as you can see in the below image), leaving approx. 0.5cm (1/4inch) of fabric either side with no velcro – as this is where you will sew. Pin in place
STEP SIX – Sew velcro in place using the sewing machine, with a row of stitches on the top and bottom of each piece of velcro. Repeat for the other side.
STEP SEVEN – Fold your little bag in half so that both pieces of velcro are facing out and pin in place. Sew along both sides using the sewing machine. It works best not to sew on the velcro, so that the bag can seal properly.

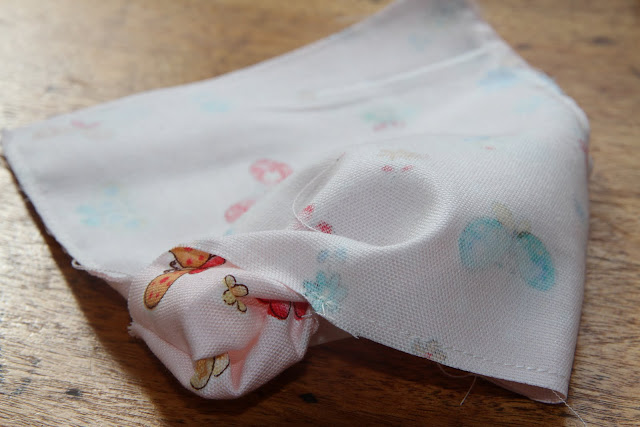
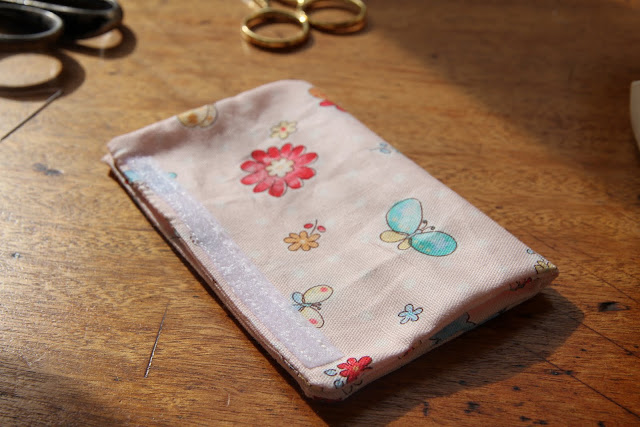
STEP EIGHT – Now you are ready to turn your little bag inside out so that the seams are hidden inside. You may need to use a knitting needle or chop stick to gently push the corners out.

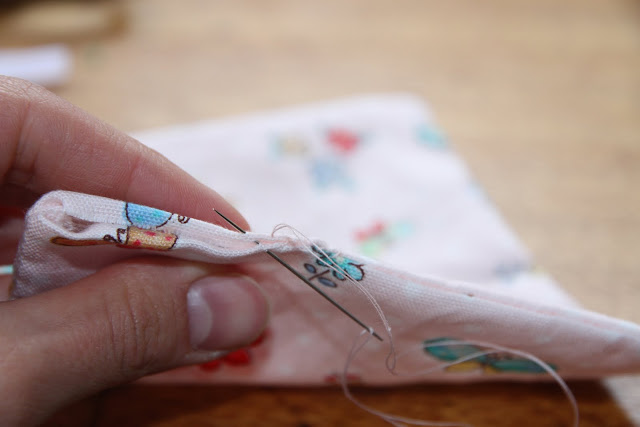
STEP NINE – You may like to sew a little name tag using some cotton tape and embroidery thread.
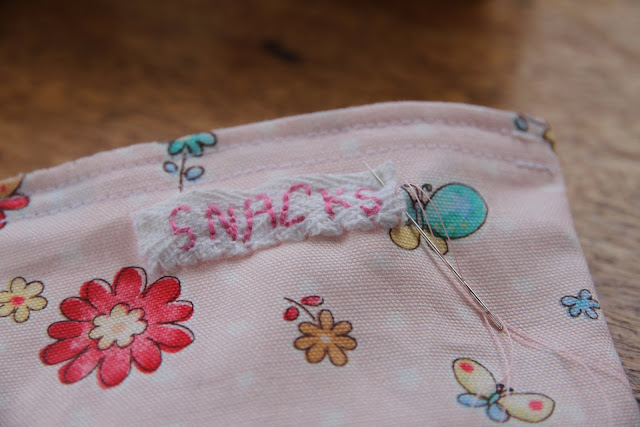
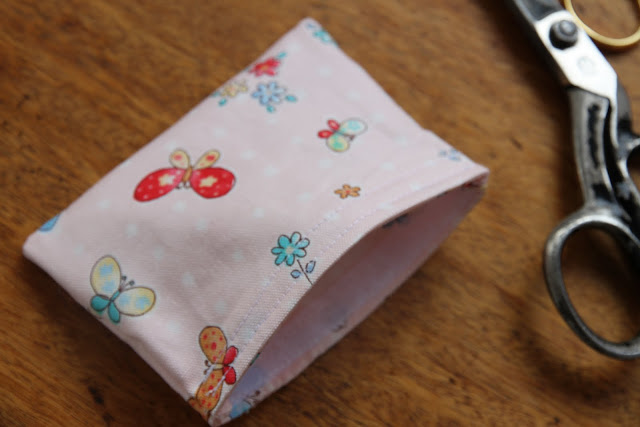
You are finished!

Now hide some tasty treats in there and enjoy knowing that you are helping the environment and have made something sweet for your little ones.
Looking for more whimsical Waldorf handwork projects? Take a look at the Sewing Circle membership filled with hand sewn treasures for a magical childhood and a community of like minded women!
divider-new-1

Leave a Comment


Hi I’m Natalie,

I teach mothers to hand-sew treasures for a magical childhood while delighting their own creative spirit!

My ebook Magical Birthdays for Children: A guide to creating wholehearted & mindful celebrations has offered inspiration & creativity to thousands of parents around the world.

I’d love to help you get started on your hand sewing journey...Jump on the waitlist for the Sewing Circle here or take a look at my other doll making workshops - Story Dolls & Waldorf Dolls.

Looking for something?

My much loved guide to creating magical & wholehearted birthdays...

Join our monthly membership

Make a beautiful Waldorf Doll for your Child